Chromebook Hacking: Developer Mode
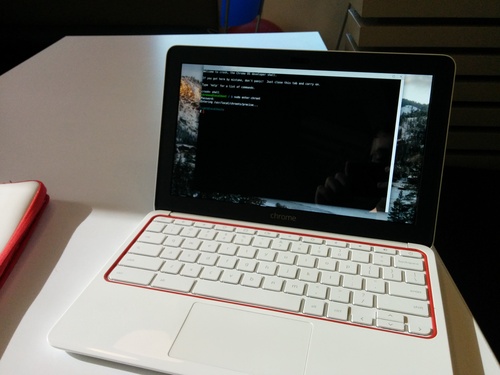
This is the second part in my series about creating a low-cost programming environment with an HP Chromebook 11. See Part 1 of Chromebook Hacking for the overview. This blog post assumes you have some basic knowledge of using a Linux terminal.
Enable Developer Mode
Danger: This will wipe out your entire local storage! Back up everything!
Enabling developer mode on a Chromebook is the blessed way of “rooting” your Chromebook: it gives you root shell access. This comes with the cost of losing parts of ChromeOS that depend on hardware-backed security systems (namely Netflix. Sad days).
Enabling developer mode is reversible (see below), but going in either direction will wipe your Chromebook’s SSD. Please back up your files first.
Instructions are on the Chromium OS website. For the HP Chromebook 11, the short version is: hold Esc+Refresh+Power button and when you see the boot screen, tap Ctrl+D. Follow the prompts and wait for roughly 10 minutes for the operating system to reinstall.
On the boot screen, you need to press Ctrl+D every time you boot to skip the “Danger, you don’t have verified boot” screen, or you can wait for 30 seconds. You can alternatively press the spacebar to perform a factory reset and disable developer mode.
Go through the standard Chrome OS “create an account” process to get to the desktop.
Install Secure Shell and set up Crosh
This step isn’t strictly necessary, but it gives you a very slick terminal interface. If you decide not to do this, you can always open crosh with Ctrl+Alt+T.
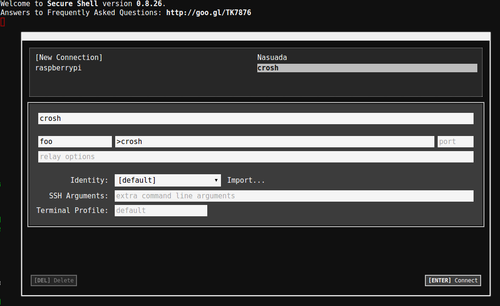
Install Secure Shell from the Chrome Web Store. Right-click on the app’s icon in the shelf and choose “Open as Window”. This allows you to use shortcuts like Ctrl+W inside the terminal without Chrome intercepting them. Click the shelf icon to open a new terminal. Create a new profile with a random non-empty user name (I picked foo) and a host of >crosh.
Harden your install
Open a bash shell by running shell at the crosh prompt. Inside your bash shell, run this command:
chromeos-setdevpasswd
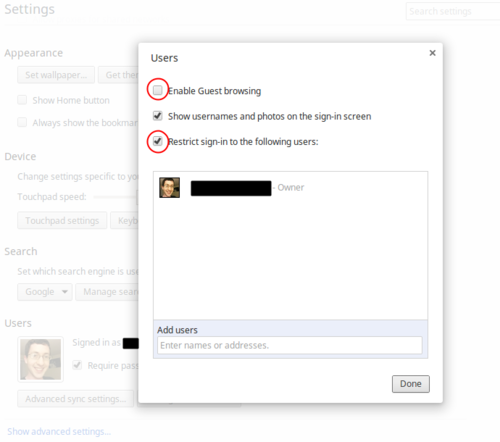
This sets your Chromebook’s UNIX password for the chronos user — the UNIX user used for any logged in Chrome profile. Now that you’ve enabled developer mode, chronos has the ability to run sudo. Since all Chrome profiles use the same UNIX user account, you will want to open chrome://settings/accounts and whitelist the users that can access this machine. Disable Guest browsing and restrict sign-in to yourself.
Finally, you should prevent your Chromebook from booting anything other than ChromeOS by running the following from your bash prompt:
crossystem dev_boot_usb=0 dev_boot_signed_only=1
The first parameter (dev_boot_usb) disables booting from an external USB stick. The second parameter (dev_boot_signed_only) forbids booting to operating systems that are not signed by Google.
Wrapping Up
Now you have a minimal Linux environment with bash and vim. After poking around a bit, you will quickly notice that only Downloads and /usr/local are writable. In the next blog post, I will introduce Crouton: a less restrictive Linux environment for ChromeOS.